Blog

To maximize spam protection when using MX Guarddog you need to configure your server to accept mail only if it passes through the MX Guarddog servers, preventing direct delivery attacks.
Follow these instructions to create an email firewall at Rackspace and reject any mail that does not pass through MX Guarddog.
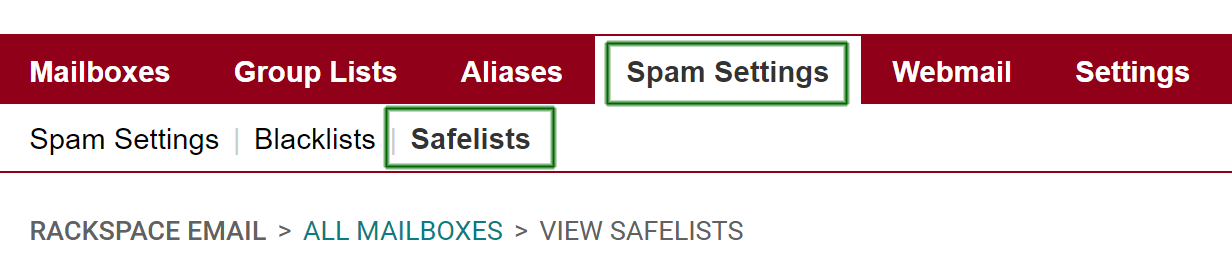
Access your Rackspace control panel and select Spam Settings for domain. Then click Safelists to add MX Guarddog to your list of safe senders.
At the bottom of your safelists page you find a section called IP Safelist. You want to add the MX Guarddog IP addresses to this list. You can find the current list of IP addresses that are used to deliver your mail on the MX Guarddog IP address list page.
Ensure you save the changes to your IP Safelist before leaving the page. MX Guarddog will notify you via email of any future changes to our IP addresses.
With the MX Guarddog IP addresses now on your IP Safelist, it is time to activate your rule. Return to your Spam Settings page and select the status to exclusive. This will allow your domain to receive mail only if it has passed through MX Guarddog, preventing any spammers from connecting and delivering mail direct to your server.
Rackspce offers several options for mail that is not received from your IP Safelist, including moving it to your spam folder, tagging the subject or deleting the mail immediately. Which option you choose to use is totally up to you.
That's it, your new email firewall is active. If you have just started using MX Guarddog your new MX records may not be fully propagated - wait 48 hours before creating this email firewall to ensure your MX records have had time to take effect.